


Step 1:- Site Selection
Check the Electricity book or online bill for how much saction load you have applied based on that only we can proceed with the On-Grid and apply for a Net meter The roof should be a shadow-free area, check the latitude and longitude of your location. The panel should face the south direction. With the help of a compass south direction should marked. A checklist should be maintained where the Earth pit, Lighting Arrester, inverter, DCDB, ACDB, battery for storage propose, DC and AC wiring and other accessories should be calculated before placing the order.
Step 2:- Selection of components
- Solar Panel / Module
- Mounting Structure
- Solar Inverter
- DCDB
- ACDB
- Earth pit
- Lighting Arrester
- other accessories
The on-grid-connected solar system where solar power is generated only when the system is connected to the electricity grid. These are the most common types of systems installed on residential rooftops and small businesses. Off-grid or hybrid systems can generate & supply power even when not connected to the electricity grid. Here batteries are also required to store the electricity generated. These are used in rural areas not connected to the electricity grid.
- Selection of the right specifications
- Quality of material
- Professional handling & installation of Standard Operating Procedures.
Step 3:- Mounting Structure
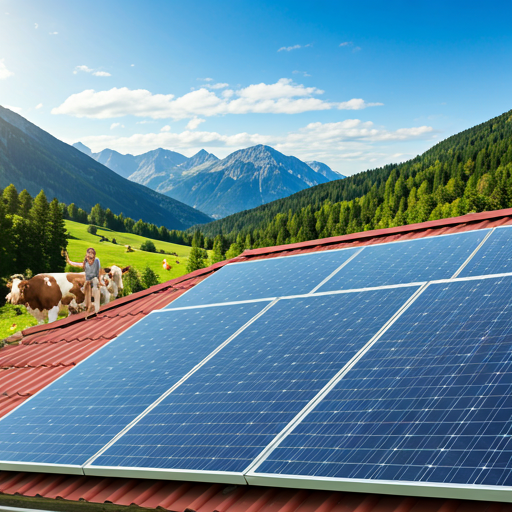
The solar mounting structures are the first component. Depending on the roof type, mounting structure type may vary installation on the metallic shed, or an RCC terrace, Increasing the height of mounting structures on an RCC terrace can reduce the shadow falls on solar panels.
- Galvanized Iron Steel Mounting Structure with Hot Dip installed on RCC Terrace.
- Aluminium Rail Structure installed on Metallic Sheet Roof
The selection of mounting structure is the main thing where the solar panel is laid over it should be safe during heavy winds & cyclones. The structure base is drilled at the roof slab and the coupling is made with cement concrete for a strong foundation.
Step 4:- Installation Inverter, DCDB, ACDB &Wiring
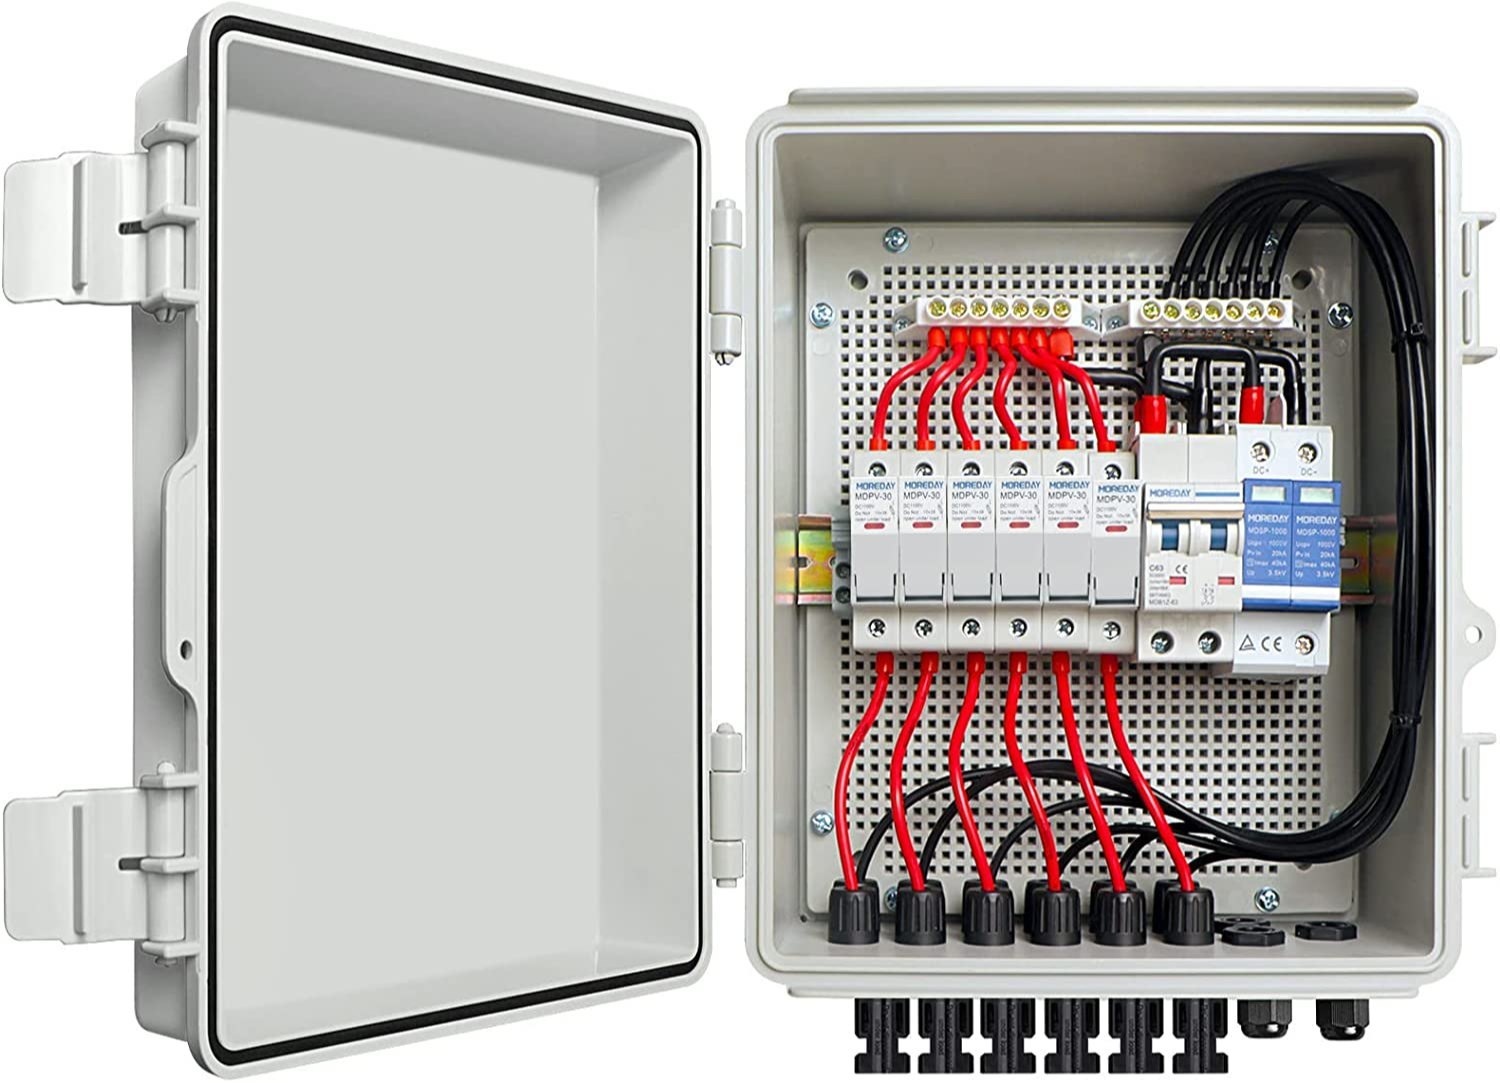
Solar panels should be connected in series the positive cable of one panel and negative cable of another panel is connected to the string, whose output voltage is the sum of the voltage of all panels connected in series. Depending on the project and inverter capacity, multiple such strings are created.
The string is connected to a DC Combiner Box, which provides electrical surge protection & DC isolation, and then to the inverter using solar DC cables. All DC cable connections are done using MC4 connectors, which should be crimped on the cables using a specialized MC4 crimping tool only. As string voltages are in the range of 1000 V DC, DC wiring is a potential source of electrical shock and short circuited if the connections are loose or done using improper tools.
Electrical Cable Routed from Roof to Ground through Conduit Pipes to Energy meter (Net meter).
Step 5:- Earth Pit and Lighting Arrester
Earthing is provided to the Solar panels & DC combiner box and Inverter & AC combiner box using separate earthing cables or Earth flat strips. The earthing grid is created using maintenance-free earthing kits consisting of earthing rods & chemical compounds. Space of Earth pit should be 2 to 3m between each earthing rod. It should be as close to the solar installation as possible to reduce the length of cables used. Size of earthing cable 16 Sq mm copper or higher and Earth flat 25 mm
Lightning Arrester should be Installed at 1m Height Above Solar Panels.
Leave a Reply